Switching web hosts can feel stressful. The biggest worry most site owners have is downtime—nobody wants their visitors to see a broken page. The good news is that Hostinger makes the process simple. With its free migration tool and support team, you can move your site from GoDaddy, Bluehost, SiteGround, or anywhere else without interruption.
India Snapshot
- Pricing: Migration is free with most Hostinger plans (starting ₹89/month).
- GST Invoice: Hostinger India issues GST-compliant invoices on all hosting plans.
- Payments: UPI, cards, net banking, EMI accepted through Razorpay, PayU, Cashfree.
- Support: 24/7 live chat; India-friendly response times.
- Servers: Choose Mumbai data centre for lowest latency during migration.
Want to move your website without downtime?
Start with Hostinger India
Step-by-Step: Move Your Site to Hostinger
1. Sign Up for a Hostinger Plan
Go to Hostinger India and pick a plan. For most blogs or business sites, the Premium plan at ₹149/month is ideal. Make sure to select the Mumbai server location for best speed in India.
2. Back Up Your Current Website
Download a full backup from your old hosting provider. This includes files (public_html folder) and your database (usually MySQL). Keep these handy just in case.
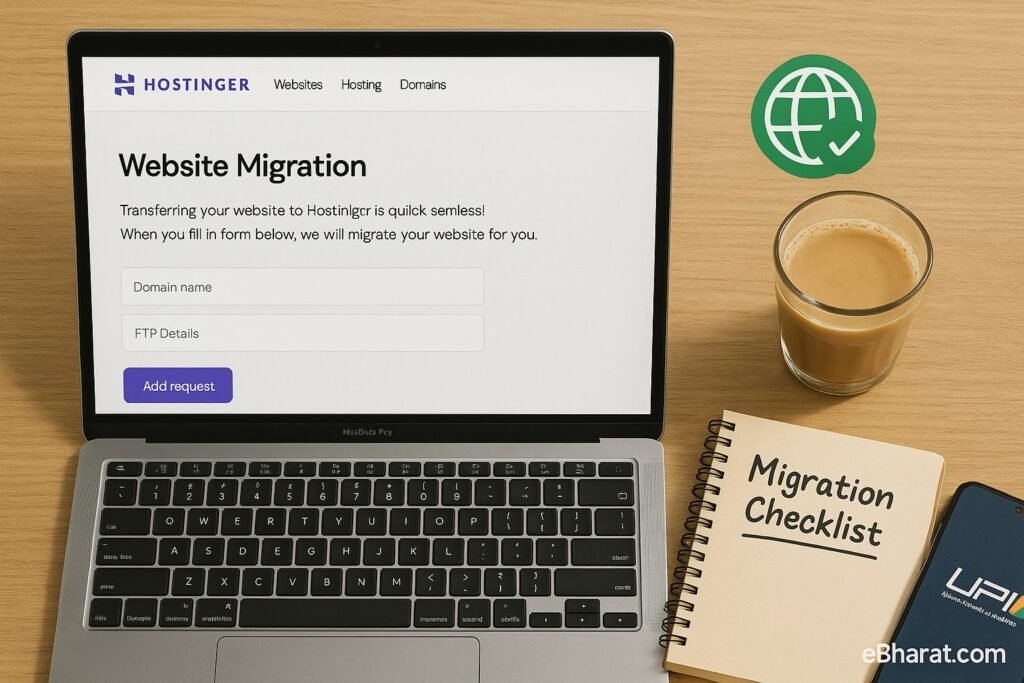
3. Use Hostinger’s Free Migration Tool
Inside Hostinger’s hPanel, you’ll find a Website Migration Request option. Fill in your old host’s login details (cPanel or WordPress credentials). Hostinger’s team will copy the site for you—usually within 24 hours.
4. Update Your Domain’s DNS
Once the site is copied, you’ll get new nameservers from Hostinger. Go to your domain registrar (GoDaddy, Namecheap, BigRock, etc.) and replace the old nameservers. Example:
ns1.dns-parking.comns2.dns-parking.com
DNS propagation can take 2–12 hours, but your old site stays live until the new one kicks in—so no downtime.
5. Test Your Site
Use a temporary Hostinger preview link to check if your site migrated properly. Test pages, forms, and checkout (if e-commerce).
6. Set Up SSL & Email
Activate the free SSL certificate in hPanel. If you use business email, either migrate it or switch to external services like Zoho or Google Workspace for smoother deliverability.
7. Monitor for 48 Hours
Keep an eye on your traffic. Use tools like GTmetrix or Pingdom to confirm uptime. If something looks off, Hostinger support can help fix it.
Pros and Cons of Migrating to Hostinger
Pros
- Free professional migration.
- Mumbai servers give faster speed for Indian visitors.
- UPI/EMI and GST invoice support.
- 24/7 responsive chat support.
Cons
- Some email deliverability issues with Hostinger’s built-in mail.
- Free migration usually limited to one site per account.
Quick Checklist for Zero Downtime Migration
- Sign up for Hostinger and choose Mumbai server.
- Request free migration in hPanel.
- Back up your old site as a safeguard.
- Update DNS at registrar.
- Test site with preview link.
- Enable SSL and set up email.
- Monitor uptime for two days.
Moving your site doesn’t have to be stressful. Hostinger’s team handles the heavy lifting, while you focus on running your blog or business.
Move to Hostinger India Now
Shifting your website to a new host sounds scary, but with Hostinger it’s straightforward. The migration tool and support team make sure you don’t face downtime. Add Mumbai servers, UPI payments, and GST billing, and it’s clear why Hostinger is one of the best choices for Indian bloggers and businesses in 2025.