Shopify doesn’t offer its own payment gateway in India, so sellers depend on Razorpay, PayU, or Cashfree. The right setup makes the difference between smooth UPI checkouts and frustrated buyers. This guide explains how to connect Razorpay or PayU to Shopify and build the best payment stack for Indian e-commerce in 2025.
India Snapshot
- Shopify Plans (2025): Start at ₹1,994/month (Basic).
- Payment Gateways Supported: Razorpay, PayU, Cashfree, CCAvenue.
- Transaction Fees: Shopify charges 2% on third-party gateways (drops to 1% on Advanced plan).
- GST Invoice: Yes, GST-compliant invoices available.
- UPI & COD: Supported via Razorpay/PayU integrations.
- Support: Both gateways provide 24/7 ticket + phone support in India.
Want to set up Razorpay or PayU with your Shopify store today?
Start with Shopify India
Why Shopify Payments Doesn’t Work in India
Shopify has its own in-house gateway called Shopify Payments, but it isn’t supported in India due to local regulations. Instead, sellers must use third-party providers like Razorpay, PayU, or Cashfree.
This adds an extra transaction fee (2%) charged by Shopify, on top of the payment provider’s own MDR (merchant discount rate). That’s why choosing the right gateway matters.
Razorpay Setup with Shopify
Why Razorpay Works Best:
- UPI payments (instant, zero failure).
- EMI support for high-ticket products.
- COD reconciliation with courier partners.
- GST invoices built in.
How to Set It Up:
- Sign up for a Razorpay Business account.
- Complete KYC with PAN, GST, and bank details.
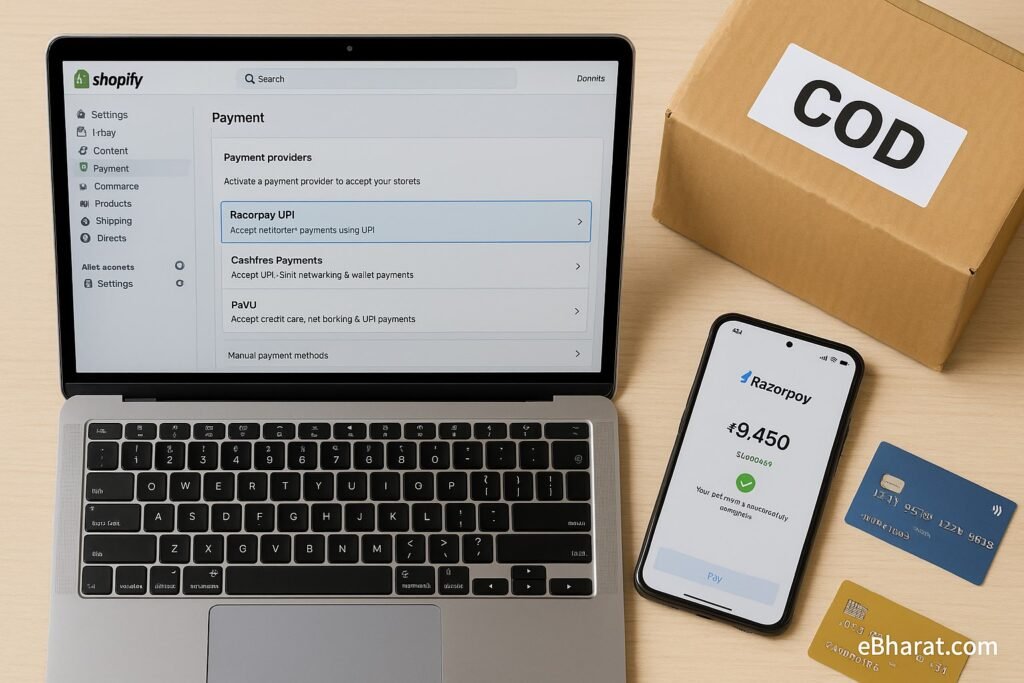
- In Shopify → Settings → Payments → Third-Party Providers → Razorpay.
- Add Razorpay API Key + Secret Key.
- Test a small UPI transaction.
Done—your Shopify store now accepts UPI, EMI, cards, wallets, and COD via Razorpay.
PayU Setup with Shopify
Why PayU Works Well:
- Stable gateway with strong bank network.
- Accepts UPI, cards, net banking, wallets.
- Supports EMI plans.
Setup Steps:
- Create a PayU Business account.
- Submit KYC documents.
- In Shopify → Payments → Third-Party Providers → PayU.
- Enter Merchant Key and Salt.
- Test checkout with ₹1 UPI payment.
Best Stack: Shopify + Razorpay + Shiprocket
If you’re an Indian seller in 2025, the best performing stack looks like this:
- Shopify → Storefront + product management.
- Razorpay → UPI, COD, EMI payments with GST compliance.
- Shiprocket → Courier integration for COD and returns.
This combo ensures your store is compliant, fast, and cash-flow friendly.
Pros and Cons
Pros
- Razorpay/PayU both support UPI, COD, EMI.
- Easy setup within Shopify admin.
- GST invoices available.
- Reliable local support.
Cons
- Shopify adds 2% extra transaction fee on third-party gateways.
- Settlement delays may occur (2–3 days).
- International cards sometimes fail more on PayU than Razorpay.
Quick Checklist for Setup
- Pick your plan on Shopify.
- Register on Razorpay or PayU.
- Complete KYC with GST + bank details.
- Add API credentials to Shopify → Payments.
- Test UPI + COD flows.
- Integrate with Shiprocket for deliveries.
Set up your Shopify store with the best Indian payment stack.
👉 Try Shopify India Now
In 2025, Shopify sellers in India can’t use Shopify Payments but can rely on Razorpay or PayU for a smooth checkout experience. Razorpay is the top choice for UPI and COD, while PayU is strong for stability. Pairing Shopify with Razorpay and Shiprocket creates the most reliable stack for Indian e-commerce growth.